
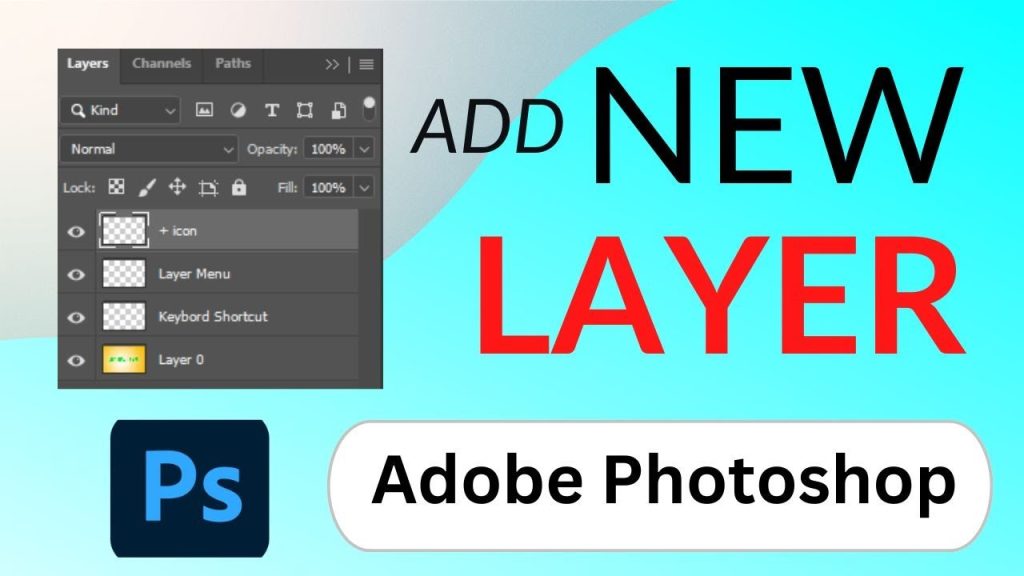
Quick answer: To add a new layer in Photoshop, click the Create a new layer icon (the plus inside a square) at the bottom of the Layers panel. You can also go to Layer → New → Layer or press Shift + Ctrl + N on Windows (Shift + Cmd + N on Mac). The new layer appears above the selected layer. Double-click its name to rename it.
Layers let you keep text, images and effects separate so you can edit one part of a design without damaging the rest. If you are new to Photoshop, creating and naming layers is the first habit worth building.
Prefer to watch? The short video above shows every step.
What do you need before adding a layer?
- Adobe Photoshop installed and a document open (File → New or File → Open).
- The Layers panel visible. If you can’t see it, go to Window → Layers or press F7.
How to add a new layer in Photoshop (step by step)
Step 1: Select where the layer should go
In the Layers panel, click the layer that should sit directly below your new layer. Photoshop adds new layers above the selected one.
Step 2: Method 1: use the Layers panel button
Click the Create a new layer icon at the bottom of the Layers panel. It looks like a square with a plus sign. A transparent layer named “Layer 1” appears right away.
Step 3: Method 2: use the Layer menu
Go to Layer → New → Layer. A dialog opens where you can type a name, pick a colour label, set the blending mode and opacity. Click OK.
Step 4: Method 3: use a keyboard shortcut
Press the shortcut that suits you:
- Shift + Ctrl + N (Windows) or Shift + Cmd + N (Mac): opens the New Layer dialog.
- Alt + Shift + Ctrl + N (Windows) or Option + Shift + Cmd + N (Mac): creates a layer instantly without the dialog.
Step 5: Rename the layer
Double-click the layer name in the Layers panel, type a clear name such as “Headline” or “Logo”, and press Enter.
Tips for working with layers
- Hold Ctrl (Windows) or Cmd (Mac) while clicking the new layer icon to add the layer below the selected one.
- Group related layers with Ctrl + G (Cmd + G on Mac) to keep big designs tidy.
- Name layers as you go. It saves a lot of time when you come back to a file later.
Can’t add a new layer? Common problems and fixes
The New Layer option is greyed out
Your image may be in Indexed Color mode, which does not support layers. Go to Image → Mode → RGB Color and try again. Also check that a document is actually open.
You can’t edit the Background layer
The Background layer is locked by default. Double-click it in the Layers panel and click OK to turn it into a normal layer.
Painting or text doesn’t appear on the new layer
Make sure the new layer is selected (highlighted) and visible (the eye icon is on). Also check that it is not hidden below another layer that covers the whole canvas.
What should you do next?
- Add more creative options with new brushes in Photoshop.
- Prepare images for your designs: remove a background in Photoshop.
- Use your own type with a new font in Photoshop.
Frequently asked questions
Press Shift + Ctrl + N on Windows or Shift + Cmd + N on Mac to open the New Layer dialog. Add Alt or Option to the shortcut to create the layer without the dialog.
Photoshop adds a new layer above the layer that is currently selected. Select the right layer first, or drag the new layer up or down in the Layers panel.
Select the layer and press Ctrl + J on Windows or Cmd + J on Mac. This creates a copy of the layer directly above it.
It usually sits on the right side of the screen. If it is hidden, open it from Window then Layers, or press F7.
Want more step-by-step tutorials? Subscribe to Digital Growth Tutor on YouTube for short, no-jargon guides.